The backup feature on any server or software gives you the power to safeguard your data in the case of inevitable events. These events can be system crashes, accidental file deletions, malware attacks and software malfunctions. The different web services provide a backup feature to help you recover your data from all such issues. Microsoft gives Windows server backup service to all its users for regular backup and data safety. We are here with full information on Windows backup to help you install the feature and back up your data with simple steps. You must know about Windows server backup options to maintain the functionality of the best Windows VPS hosting and other servers.
It is a feature of Microsoft that empowers your server to prepare and keep a backup of the complete data. You can keep the whole disk volume on another local disk. You can choose server backup options and utilise them to recover data when lost by any means. You can restore one or multiple files at a time. After a crash or data theft, you can get your data from the backup file. This way you can manage the continuous operation of your Windows server.
This is a must-have data backup feature for Microsoft users. Are you thinking of a Windows server backup service? You can install this feature with the following steps.
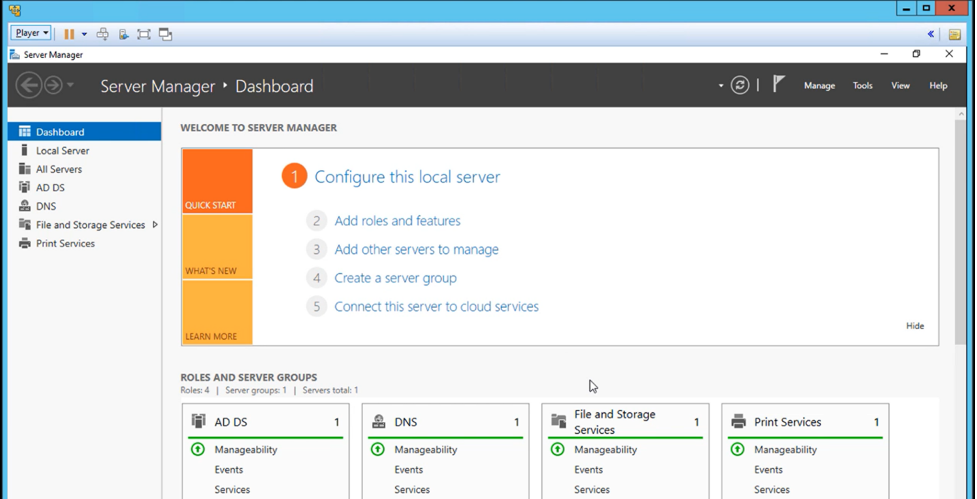
Click on the Start button and then select Server Manager. In the Server Manager dashboard, click on Add Roles and Features.
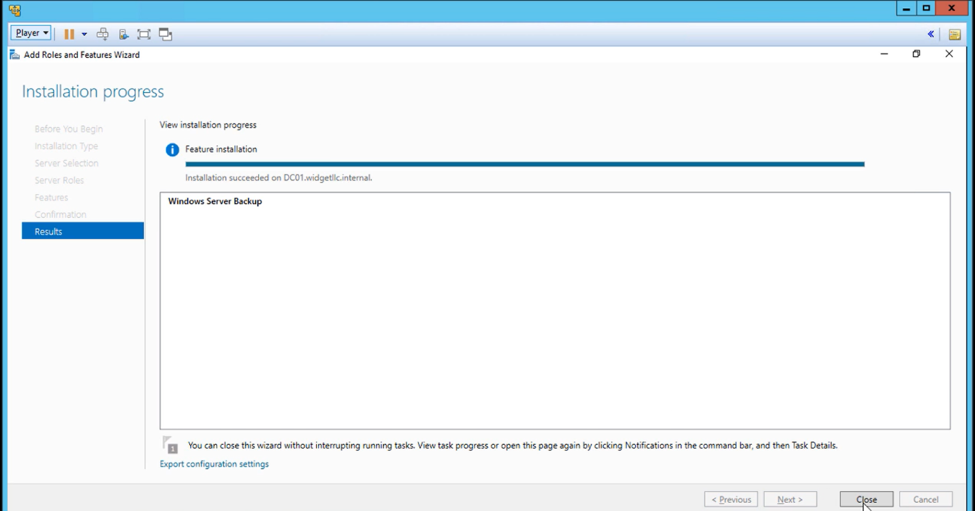
Click Next through the initial steps of the wizard until you reach the Features section. In the Select Features page, scroll down and find Windows Server Backup. Check the box next to Windows Server Backup and click Next to begin the installation process.
Read Also: How to Host a Website on a Windows Server without a Control Panel?
Wait for the installation to complete. Once done, click Close.
This way you can install and use Windows Server Backup to protect your server data.
Simple Steps For One-Time Server Backup via Windows Server Backup
Do you need to finish a one-time Windows backup via Windows Server Backup? You can follow the given steps.
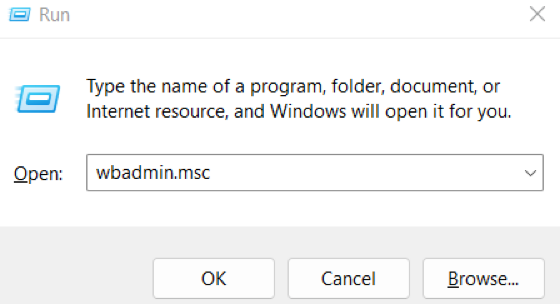
Press Win + R to open the Run dialog.
Type wbadmin.msc and press Enter to launch the Windows Server Backup utility.
Click Backup Once from the right sidebar in the Windows Server Backup utility. Click Next to proceed.
You can choose either a Full server or a Custom backup. The Full server backs up all server data and applications. The Custom allows you to select specific data and applications for backup. New users should choose the Full server option. Click Next after making your selection.
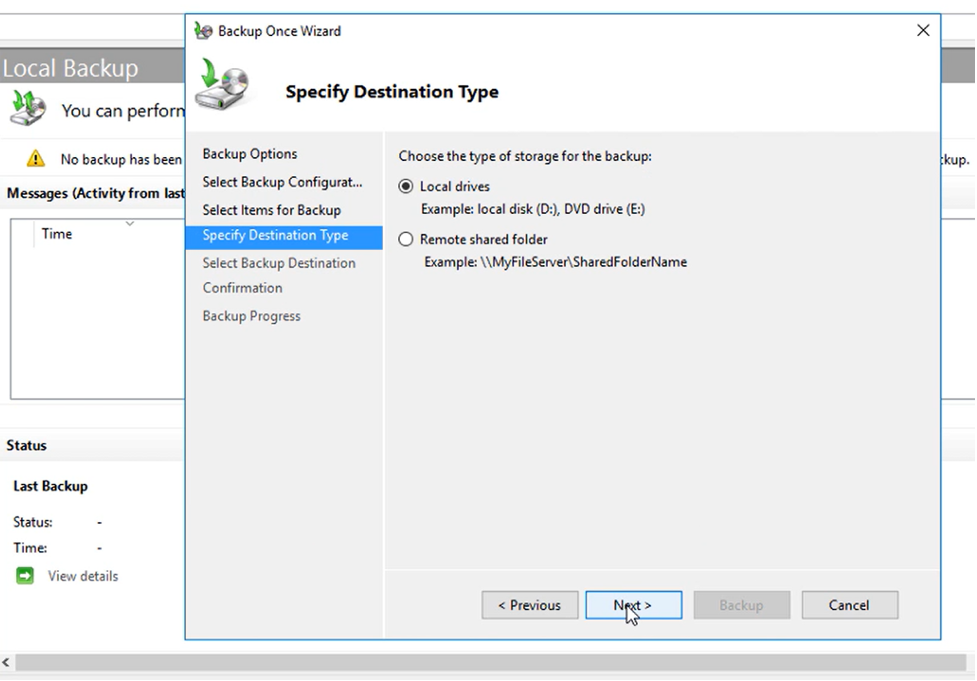
Select where you want to store the backup. You have two options Local drives and Remote shared folder. You must specify the local drive where the backup will be stored or the address of the shared folder according to your choice. Click Next.
Read Also: SSL installation process without control panel on Windows server
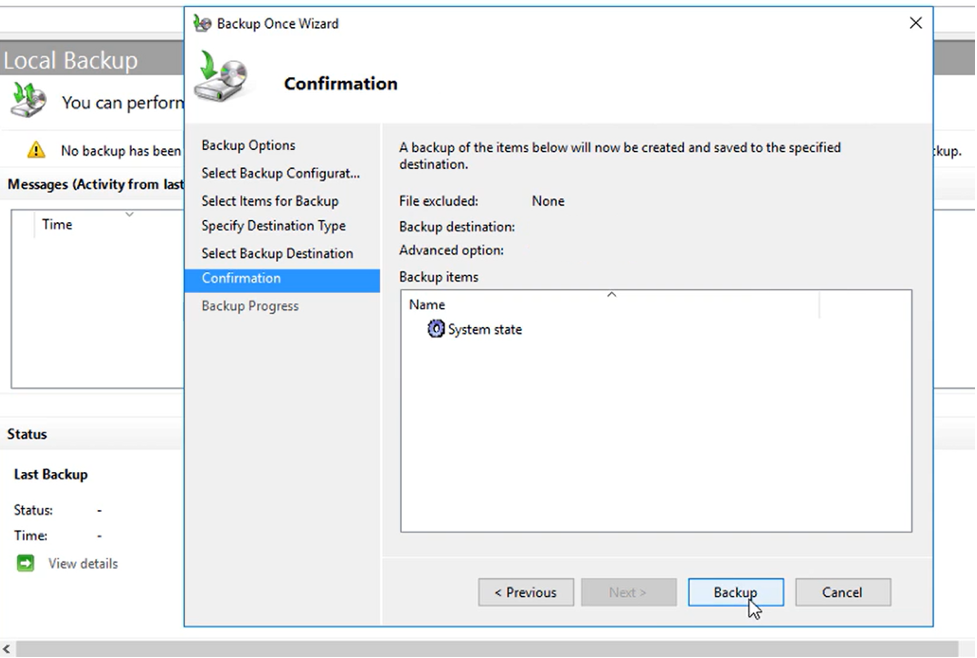
Review the backup settings and click Backup to start the backup process.
The one-time Windows backup using Windows Server Backup will be done in a few minutes. You must wait and watch to see the process getting finished. Now you have a reason to be happy that you have successfully backed up your Windows server. You can use this backup anytime for data recovery.
Scheduling Server Backups via Windows Server Backup
You have the option to schedule a server backup. Check here for steps to schedule a server backup via Windows Server Backup.
Click on the Search bar, type RUN and press Enter.
Type “wbadmin.msc” in the run pop-up window, and press Enter. This launches the Windows server utility.
In the Windows Server Backup utility, click Backup Schedule from the right sidebar to open the Backup Schedule Wizard and click Next.
Choose between a Full server or Custom backup and click Next.
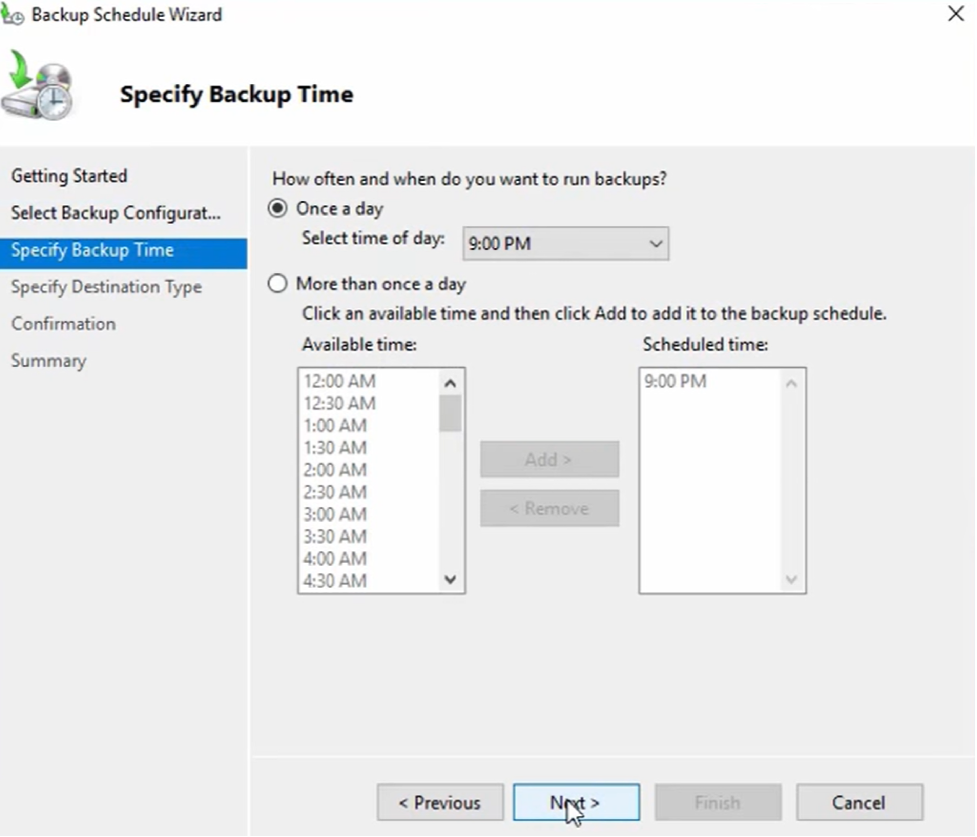
Choose how often you want the backup to run. Select the time of day for the backup if you can choose once a day. Specify multiple times throughout the day if you choose more than once a day. Click Next.
Choose the destination for the backup whether Local drives or Remote shared folder. Click Next after selecting the destination. You can also configure advanced settings such as Volume Shadow Copy Service (VSS) options.
Review the backup settings summary and click Finish to save the schedule and enable the automated backups.
This way you have scheduled regular server backups using Windows Server Backup, ensuring your data and applications are routinely protected.
How To Restore Server Backups via Windows Server Backup?
You must be happy that you know how to back up your Windows server data. If you want to restore server backups via Windows Server Backup, you can trust the following steps. We have tested them so many times in different data-loss situations like malware attacks, accidental deletions, and system crashes.
Click on the Search button, type Run, and select it from the search results.
Type “wbadmin.msc” to open the Windows Server Backup utility.
In the right Actions pane, click Recover to launch the Recovery Wizard.
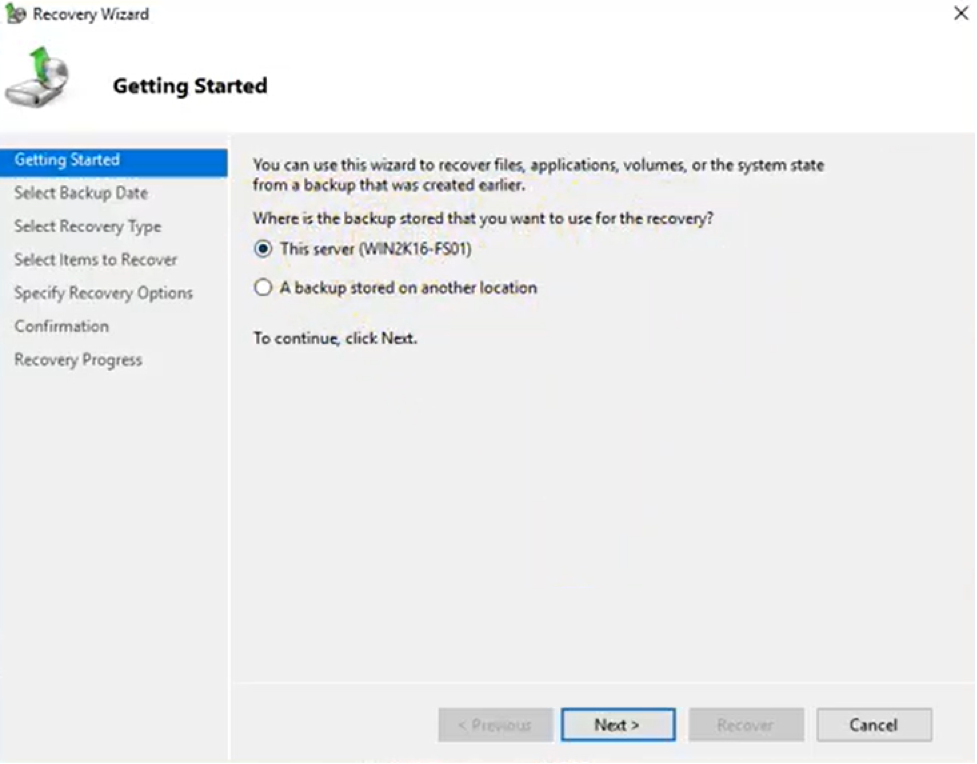
In the Recovery Wizard, select the location where your backup is stored. Choose “This server” if the backup is on the local server. Choose another option if the backup is stored on a different server. Click Next and choose the date and time of the backup you want to restore from the list of available backups.
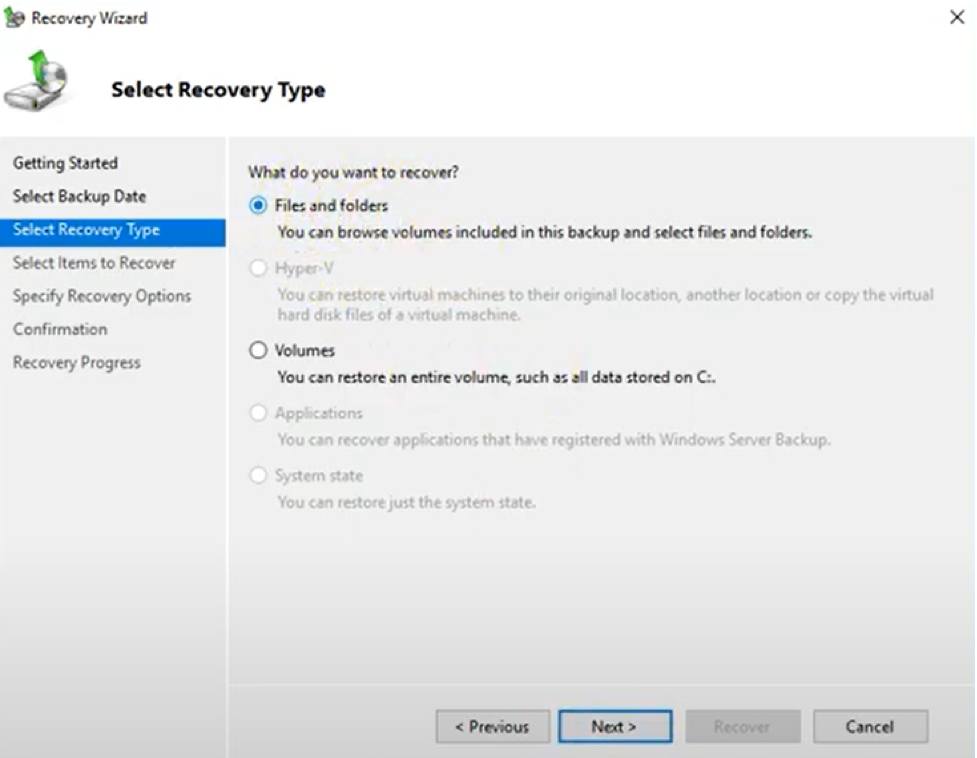
Choose what you want to recover: Files and folders: To restore individual files and folders, Hyper-V: To restore virtual hard drives, Volumes: To restore entire volumes, Applications: To restore specific applications, and System State: To restore the system state. Click Next.
Depending on the recovery type selected, set options and click Next.
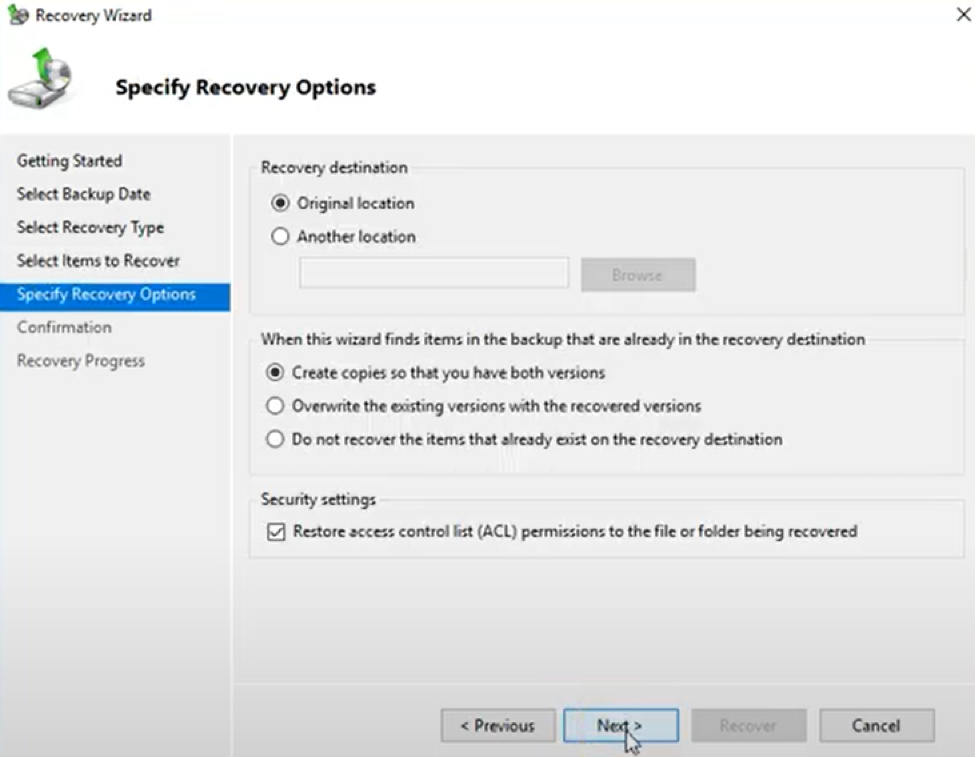
Specify between the original location and another location. Check other settings and click Next.
Review the settings and options you have selected and click Recover to start the recovery process.
Monitor the progress of the recovery process and once the recovery is complete, verify the restored data or applications to ensure they are functioning correctly.
End Talks
Windows server backup is the best way to manage your server data so that you can back up according to your choice and restore them when needed. Microsoft provides various server backup options to help you keep your data secured and restore them when required. You have various platforms to get faster Windows server backup service. It’s also a good choice to back up and restore the data of your Indian VPS server. Irrespective of your choices of server data backup and recovery, you should prioritise the safety and security of your data. So you must choose the suitable server backup options to safeguard the data of your server.